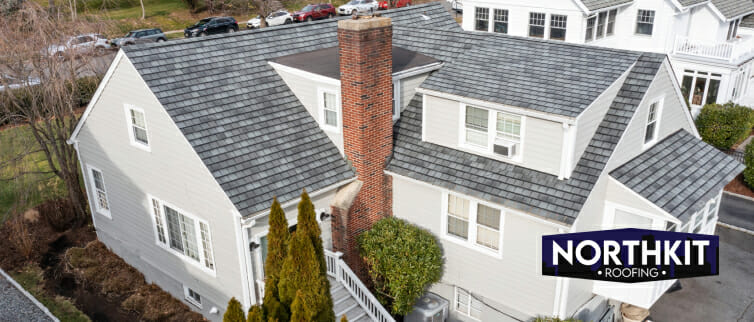
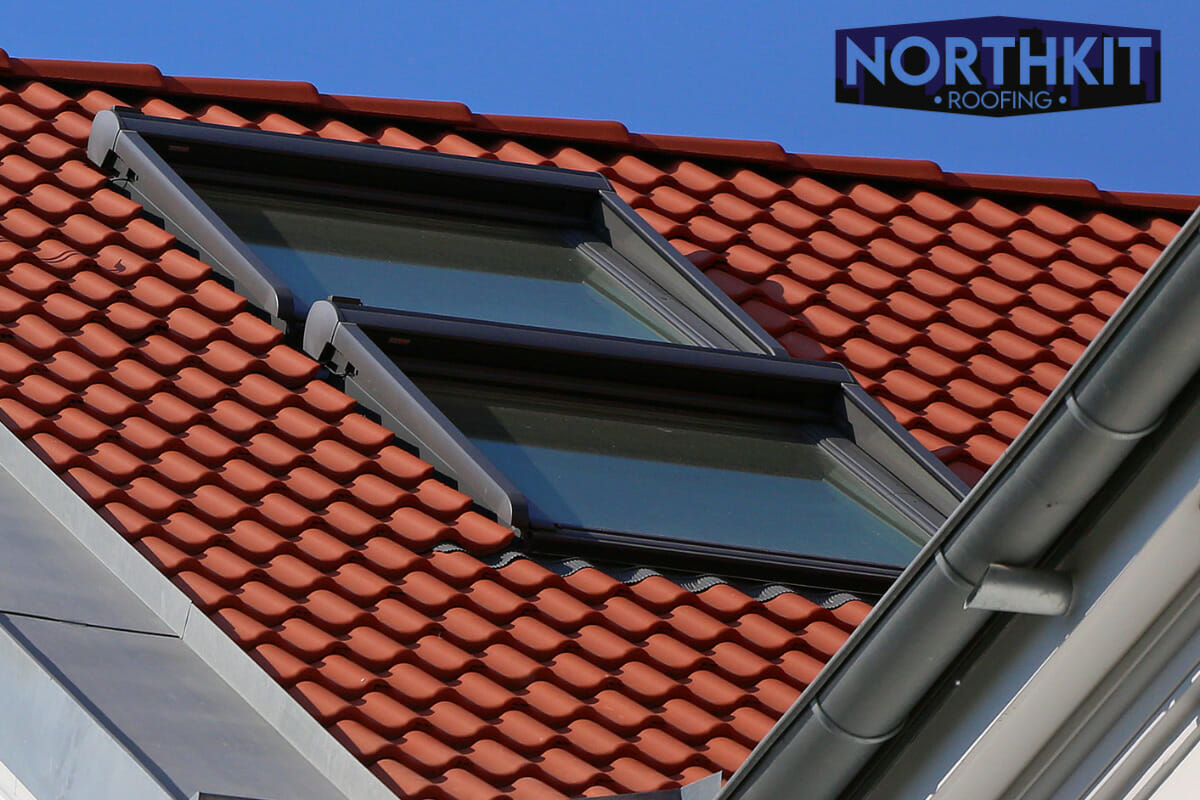
Are you tired of dealing with leaky skylights? Don’t let the faulty seals in skylights ruin the beautiful natural light entering your home. Resealing your VELUX skylight is easier than you think and can be completed in a few simple steps.
With the right tools and the right information, you can securely seal your skylight in no time. In this blog on how to reseal a skylight, we’ll guide you through the process of resealing your VELUX skylight and show you how to keep your home protected from the elements.

Signs Of A Leaking Skylight
If your skylight is leaking water, it could be an early indicator of greater water damage within your roofing system. If you leave leaks untreated or do not repair them in their early stages, they will become a cause for concern for your roofing system. Keep a look out for some of the below signs involving water damage and skylights:
A. Water Leaks
First and foremost, skylights should only allow natural light and fresh air to enter the home or office. If water is also passing through the skylights, it is a bad sign for your home, particularly your roof. Leaking water indicates the skylights may have been either improperly installed or the sealant around the skylight has become damaged. Additionally, the flashing around your skylight may rot and deteriorate if it’s exposed to water for a long period of time.
B. Mold Growth
Mold growth results from the combination of water pooling around skylights and high levels of humidity inside the home. If mold on your skylight is left untreated, it can grow and spread, making your ceiling and roof look unappealing. Mold may also contribute to health issues for those living in the home.
C. Peeling Paint
Peeling paint is a sign of water damage, as water will cause paint to separate from its surface.
While installing skylights, homeowners paint them to prevent early aging and unwanted wear and tear. If this protective layer or coating on skylights separates from the surface, it is a bad sign for your roofing system.
D. Stains On The Ceiling
You might have seen water or moisture stains on your ceiling. These stains on your ceiling near the skylight indicate water leaking through them. Many times, these stains expand on the ceiling because of the direct contact with humidity and moisture.
Why Do Skylights Leak?
Below are the known factors that lead to water leaking through skylights. To ensure the skylight is properly working, you need to know factors that could potentially damage your skylight in case of a mishap.
Read on to extend your skylight’s durability and longevity.
A. Improper Installation
One of the major causes of skylight leaks is improper installation. Not only does improper installation contribute to water leaks through skylights, but it also affects the durability and longevity of the skylight. Therefore, you must hire a trusted and skilled installation expert for your skylight installation.
Further, if you want to know who installs skylights, read our blog answering whether or not roofing contractors install skylights.
B. Damage To Flashing
During skylight installation, roofers install different types of flashing to ensure water cannot get past it. Flashing is the material roofers use to seal or cover the gaps and holes left between the roof and skylight to avoid water filtration.
Made of different materials, such as aluminum or copper, flashing rots and deteriorates due to direct contact with water and air over time. Additionally, the rotting and deterioration of flashing lead to water leaks through the skylights. The good part is that you can remove damaged flashing and replace it with new ones.
C. Age, Wear And Tear
Age, along with general wear and tear of the skylight also leads to water leakage. The older a skylight is, the higher the probability water will leak through. Also, aged skylights suffer from wear and tear caused by natural phenomena such as hail, snow coverage, heavy storms, and direct exposure to sun and rain. In addition, the weight of heavy snow, and foot traffic also lead to the wear and tear of skylights.
D. Lack Of Maintenance
Having ponded water around skylights is the leading factor for early aging and deterioration. Not only does it damage the flashing and skylight, but it also removes the paint and sealant used to protect the skylight from direct exposure to dust, debris, and mold.
To ensure this doesn’t happen, you should maintain and clean your skylights. Skylight maintenance includes regular cleaning, removing dust and debris, and directing the pooled water away to drain it from the roof.
Since we now know the leading factors of skylight damage, it is good for us to clean and maintain them regularly. Regular skylight maintenance slows down their aging, wear and tear, and flashing deterioration.
Additionally, if you find your skylights and flashing damaged, you should find a professional to repair them as soon as possible. If you take too long to repair or replace them it may lead to bigger problems down the road that will end up costing you more.
E. Weather-Related Causes
Your location, climate, and the respective weather cause skylights to leak and, subsequently, cause roof damage. The snow covering your skylight, and the water pooled around it damage the flashing, which leads to further water damage.
How Do You Fix A Leaking Skylight?
Resealing a skylight is an important part of maintaining it and preventing leaks. Here are the steps for resealing a skylight:
• Prepare The Area– Clean the area around the skylight and cover the furniture and floor below to protect it from damage.
• Remove Old Sealant– Use a putty knife or similar tool to remove any old sealant from around the skylight carefully.
• Clean The Surface– Clean the surface around the skylight with a solvent such as alcohol or vinegar to remove any dirt or debris.
• Apply New Sealant– Apply a high-quality silicone or polyurethane sealant around the edges of the skylight, making sure to fill all gaps and cracks.
• Smooth The Sealant– Use a smoothing tool to create a smooth, even surface on the sealant. Make sure to remove any excess.
• Allow The Sealant To Dry– Follow the manufacturer’s instructions for drying time, as this can vary depending on the type of sealant used, and you want to be particularly careful at this point to ensure the skylight is properly sealed.
• Inspect The Work– After the sealant has dried, inspect it to make sure that it has formed a tight, secure seal around the skylight.
If you don’t want to risk incorrectly sealing your VELUX skylights, make sure to call a professional who has experience with VELUX windows, to do the job for you.
Reseal Your VELUX Skylights With Professional Help
Though VELUX is a well-known brand in skylights and window manufacturing, its skylights undoubtedly can become damaged for all the reasons mentioned above. To extend their lifespan and increase their durability, professional assistance is a must.
If you have a leaking skylight, or find any signs alarming and feel that future damage may happen, contact Northkit Roofing today at (973)-396-7416. Our professional team has been helping homeowners in Montclair, New Jersey, for years, and has special experience handling skylight installation and replacement projects, particularly with VELUX windows. So what are you waiting for? Give us a call today!