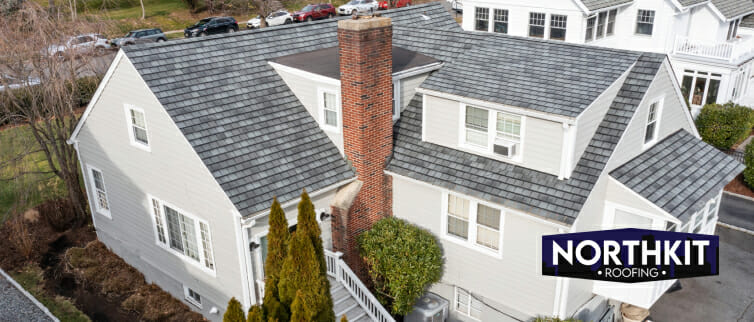
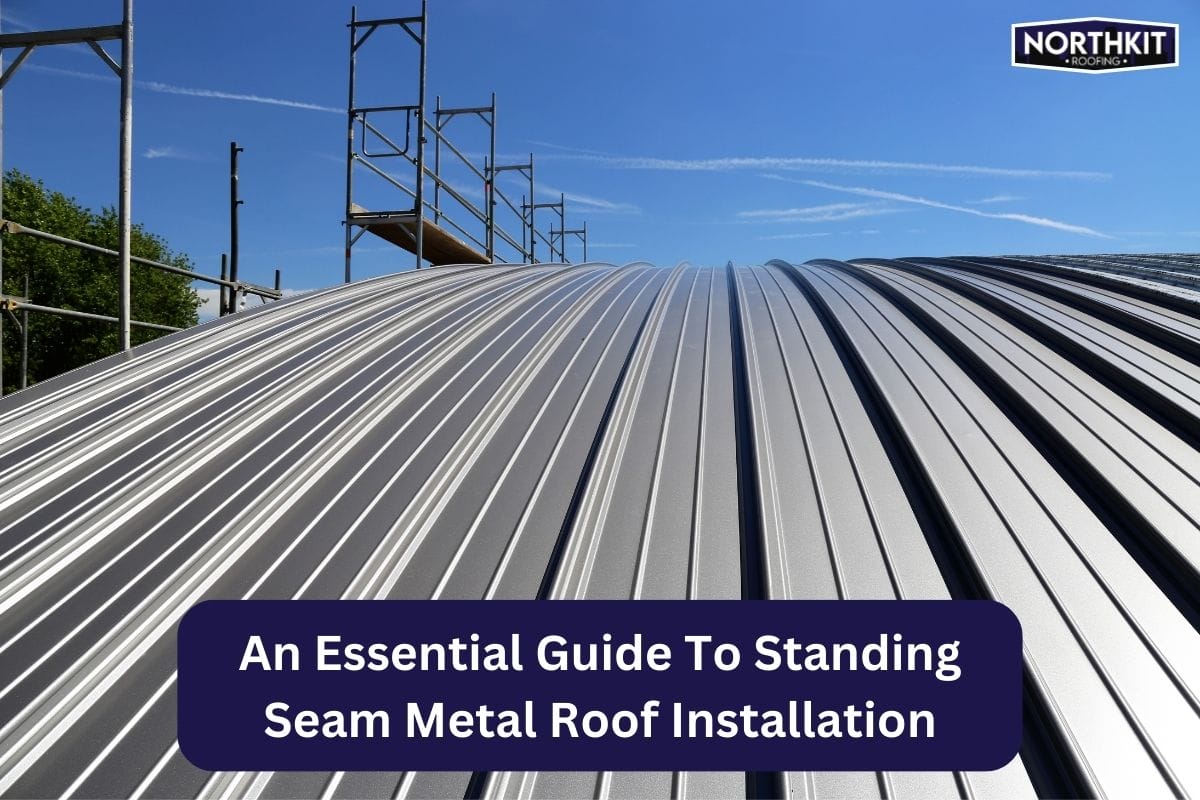
Standing seam metal roofs have gained immense popularity in recent years, and for good reason. Their durability, energy efficiency, and aesthetic appeal make them a top choice for both residential and commercial properties. However, the key to unlocking the full potential of a standing seam metal roof is proper installation. In this comprehensive guide, we’ll walk you through the essential steps and considerations for a successful standing seam metal roof installation.
What Makes Standing Seam Metal Roof Installation Unique

Before you proceed with the standing seam metal roof installation, it’s important to understand why standing seam metal roofs are unique. Though there are many types with different installation methods, snap-lock and mechanically fastened standing seam metal roofs are prominent options on the market.
1. Types of Standing Seam Metal Roofs
Though many types of standing seam metal roofs have established their place for their unique style and distinctive appearance, snap-lock and mechanically fastened standing seam metal roofs are popular among homeowners.
a) Mechanically Fastened Standing Seam Metal Roof
Mechanically fastened standing seam metal roofs are characterized by seams that are mechanically locked together using specialized tools. This precise locking mechanism enhances the roof’s resistance to extreme weather conditions, making it a popular choice for areas prone to high winds and heavy precipitation. The tight seams contribute to a sleek and modern appearance, adding an architectural edge to the structure.
b) Snap-Lock Standing Seam Metal Roof
Snap-lock standing seam metal roofs feature a user-friendly interlocking system that doesn’t require mechanical fastening. The panels simply snap and lock into place, streamlining the installation process. While this type may not be as weather-resistant as mechanically fastened metal roofs, it offers efficiency and ease of installation. Snap-lock standing seam roofs are a great option for homeowners seeking a balance between aesthetics and practicality.
2. Material Selection
Metal roofs can be made of various materials that are similarly durable and weather-resistant. These roofing materials include zinc, copper, steel, and aluminum. Choosing the right material for your roof will depend on various factors including the weather patterns in your area. However, the options ultimately narrow down to the homeowner’s preference.
Materials And Tools Needed For The Installation
Before jumping into the installation process, it’s crucial to make sure you have all the required tools and materials.
1. Underlayment
Underlayment is an essential component of a roofing system. It adheres to the roof deck in order to prevent leaks and trapped moisture. Install a weather-resistant underlayment to provide an even stronger barrier against water infiltration. Common options include synthetic underlayment or self-adhering bitumen sheets.
2. Fasteners and Clips
When we deal with standing seam metal roofs, having fasteners and clips handy is non-negotiable. Ensure that the fasteners and clips are compatible with the chosen metal panels. Use corrosion-resistant fasteners to maintain the integrity of the roof over time.
3. Sealant and Caulk
Use high quality sealant and caulk to weatherproof seams, joints, and around penetrations like vents. This helps prevent water infiltration and enhances the roof’s overall weather resistance.
4. Flashing
Though you might not have seen it on a roof before, flashing is an integral component of a roofing system that is installed where the roof meets any penetration such as chimneys, vents, skylights, and dormers.
Ensure the flashing material is compatible with that you have chosen for roofing.
5. Ridge Caps and Trim
The ridge cap is the topmost component of a roof. It is a long and narrow cap that covers the area where two roofing slopes meet. Install ridge caps and trim pieces for a finished and polished look. These components not only contribute to the roof’s aesthetics but also help seal and protect vulnerable areas.
6. Closure Strips
Place closure strips at the eaves and ridge to prevent wind-driven rain, snow, or debris from entering beneath the panels. This enhances the overall resistance of the roof.
7. Edge Metal
Install edge metal to protect the roof edges and enhance the roof’s overall aesthetics.
8. Hand Tools and Equipment
Seaming Tools: Depending on the panel profile, use seaming tools for mechanically fastened roofs to ensure precise locking of seams.
Metal Shears and Snips: Cut panels to size using metal shears or snips for accurate and clean edges.
Standing Seam Roofing Machine: For larger projects, a standing seam roofing machine can be used to form panels on-site for a customized fit.
How To Install A Standing Seam Metal Roof
Installing a standing seam metal roof requires precision, attention to detail, and a methodical approach. Here’s a comprehensive step-by-step guide to help you navigate through the installation process and ensure a successful project outcome.
1. Roof Preparation
Before starting the new installation, assess the condition of the existing roof. Ensure that it is structurally sound, free of damage, and capable of supporting the new metal roof.
Address any issues such as leaks, damaged deck boards, or compromised structural elements. A solid foundation is crucial for the success of the new standing seam metal roof.
It’s also important to clean the roof surface. Remove debris, dirt, and any loose materials from the roof. A clean surface ensures proper adhesion and a smooth installation process.
2. Material Selection
Choose standing seam metal panels that are durable, weather-resistant, and suitable for your climate. Common materials include steel, aluminum, and copper.
Ensure you have all the required materials, including fasteners, clips, underlayment, and flashing. Using compatible and high quality components is essential for a long lasting installation.
3. Measurement and Panel Layout
Take precise measurements of the roof’s dimensions, slope, and protrusions. Accurate measurements are critical for a seamless and visually appealing installation.
Lay out the panels in a way that minimizes cutting and waste. Consider the roof’s slope, architectural features, and seam orientation for an organized and aesthetically pleasing design.
4. Panel Installation
Start at One End: Begin installing panels at one end of the roof, working toward the other end. This ensures a systematic and organized installation process.
Use Proper Fastening Techniques: Secure the panels using the recommended fasteners and clips. Pay attention to spacing and placement to prevent issues such as wind uplift.
Avoid Over Tightening: Tighten fasteners appropriately to ensure a secure fit without distorting the panels. Over tightening can lead to warping and compromise the roof’s integrity.
How To Install A Snap-Lock Standing Seam Metal Roof
Though similar to the steps above, there are some additional considerations to keep in mind during a snap-lock standing seam metal roof installation.
1. Start at One End
Begin the installation at one end of the roof, typically the eave. This ensures a systematic and organized approach to interlocking the snap-lock panels.
2. Align Panels
Align the seams of adjacent panels. The seam featuring a raised portion should fit into the opposite seam, creating a secure interlock.
3. Snap-Lock Mechanism
Use the snap-lock mechanism by firmly pressing down on the top seam until it audibly “snaps” into place. The interlocking system is designed for a secure and tight fit.
4. Check Alignment
After interlocking the first set of panels, visually inspect the alignment to ensure that the seams are flush and properly engaged. Proper alignment is crucial for the overall integrity of the roof.
5. Maintain Proper Overlap
Ensure that each panel maintains the proper overlap with the adjacent panel. The recommended overlap is determined by the specific snap-lock profile being used and is essential for weather resistance.
How To Install A Mechanically Fastened Standing Seam Metal Roof
There are a few additional steps you have to take during the installation of a mechanically fastened standing seam metal roof.
1. Choose the Right Fasteners and Clips
Choose appropriate fasteners and clips recommended by the manufacturer. Ensure compatibility with the chosen metal panels and follow spacing guidelines.
2. Secure the Panels with Fasteners
Begin installing the mechanically fastened panels at one end of the roof, moving towards the other end. This ensures a smooth installation process.
a) Fastening: Secure the panels using the recommended fasteners and clips. Follow manufacturer guidelines for spacing and placement to prevent issues down the line. Fasten the panels securely, ensuring a tight fit.
b) Fastener Placement: Typically, fasteners are placed along the panel’s ribs or seams. Follow the predetermined pattern specified by the manufacturer.
c) Proper Spacing: Ensure proper spacing between fasteners to maintain the structural integrity of the roof. The spacing will depend on factors such as panel dimensions and local wind uplift requirements.
d) Don’t Over Tighten: While it’s essential to fasten the panels securely, avoid over tightening, as this may distort the metal or compromise the weather tight seal.
By following these steps, you can ensure the successful installation of your new standing seam metal roof.
Contact Northkit Roofing In New Jersey For Your Metal Roof Installation
If you are considering installing a metal roof on your home or commercial building, contact Northkit Roofing in New Jersey. Our expert roofers are proficient at handling any roofing project. Whether you need a new roof or want to replace an existing one, we can help. Contact us today at (973) 396-7416 and consult a roofing professional for your metal roof installation.